


In my previous post, I talked about Virtual Machines. Virtual machines(VM) as the name implies are machines that are stored in the cloud. By cloud, I don't mean the sky above. The cloud is a virtual environment that allows computing to be carried out over the internet. Imagine a computer within a computer or even better, an infinite amount of computers within a computer.
This time, I will be taking you on the journey of creating a Windows virtual machine on Microsoft Azure.
Create a Microsoft Azure account, preferably using an existing Microsoft account. To use all Azure resources for free for a month, I first created a free account.
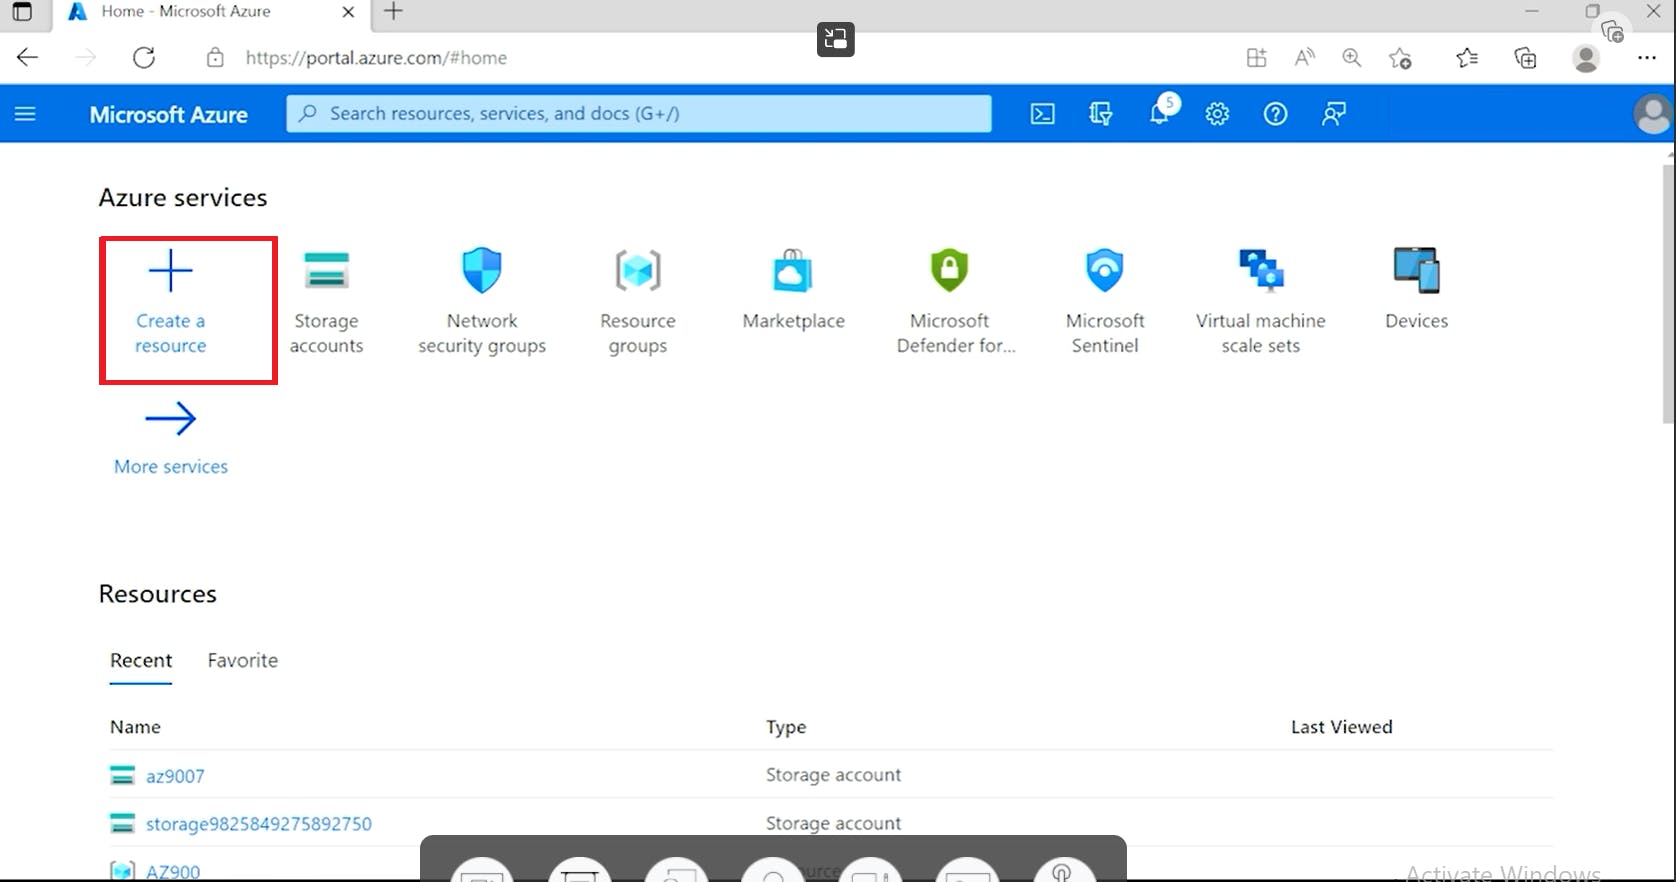
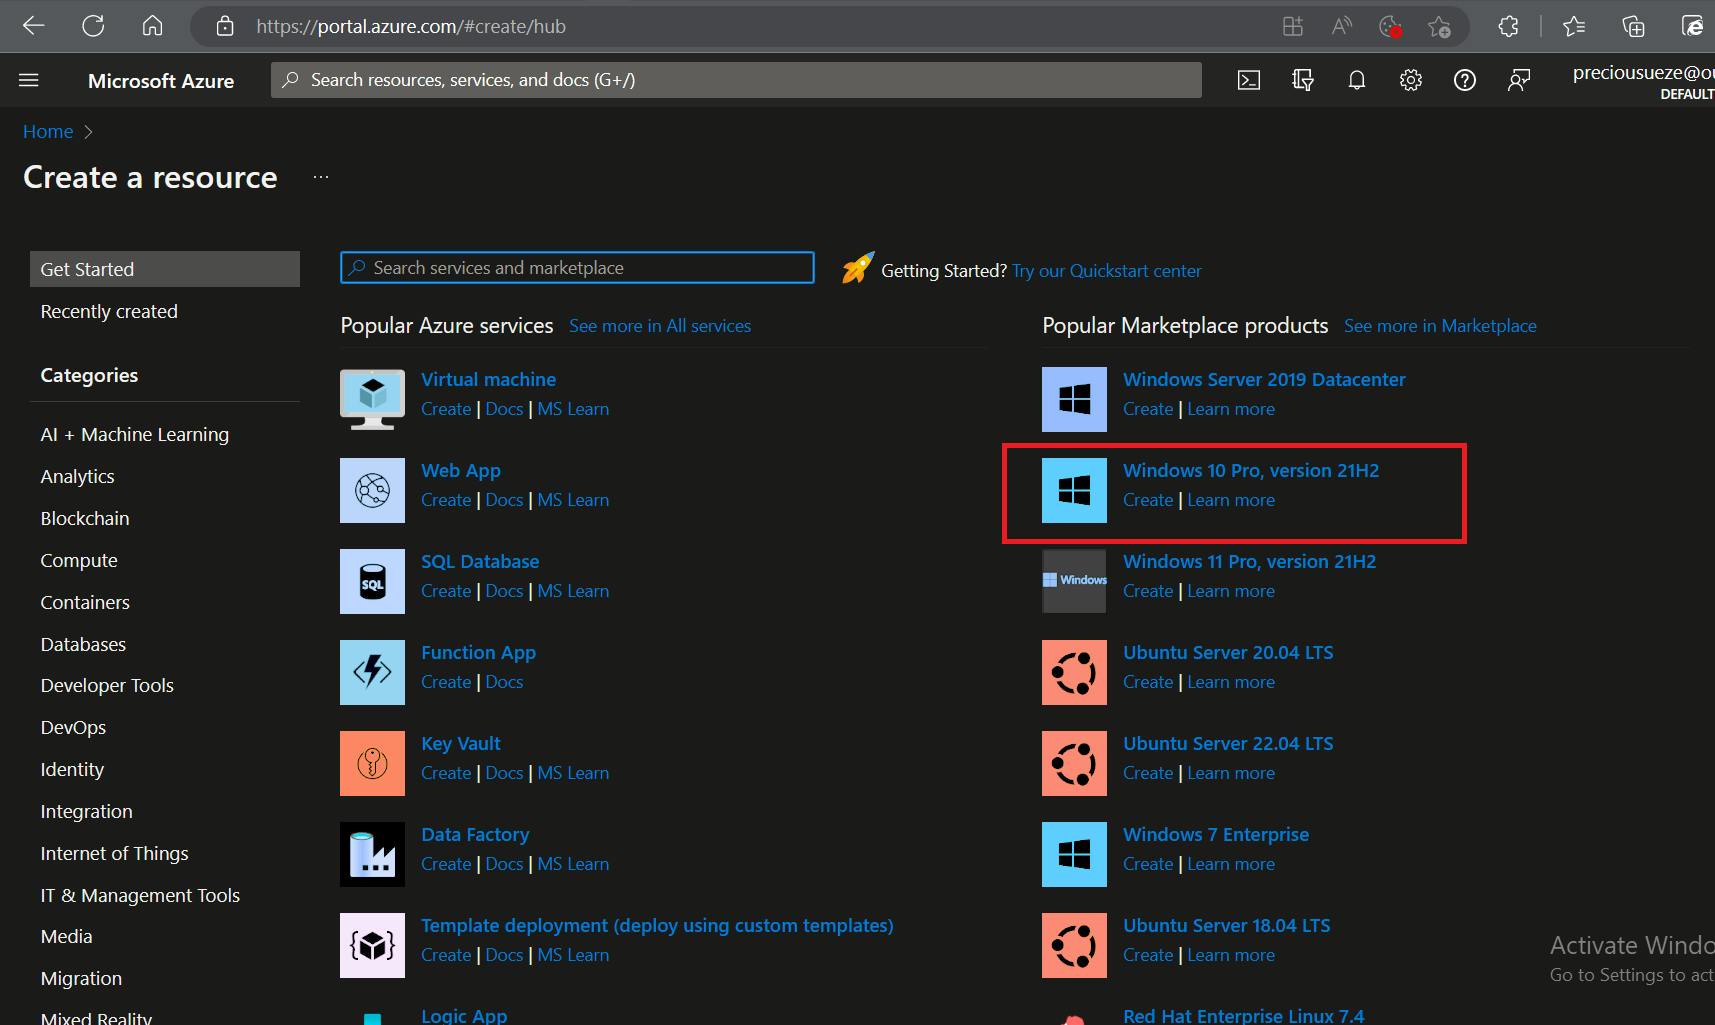
Let's create the first VM. We begin by creating our resource. Azure has a large number of resources, thus we must tell it specifically what kind of resources we want. The landing page will then appear as seen in the illustration below. I'll switch to the dark mode because I prefer it.
We will be directed to a screen where we may select the type of resource we wish to create by using this command. We have a few options here. We can either pick "virtual machine"
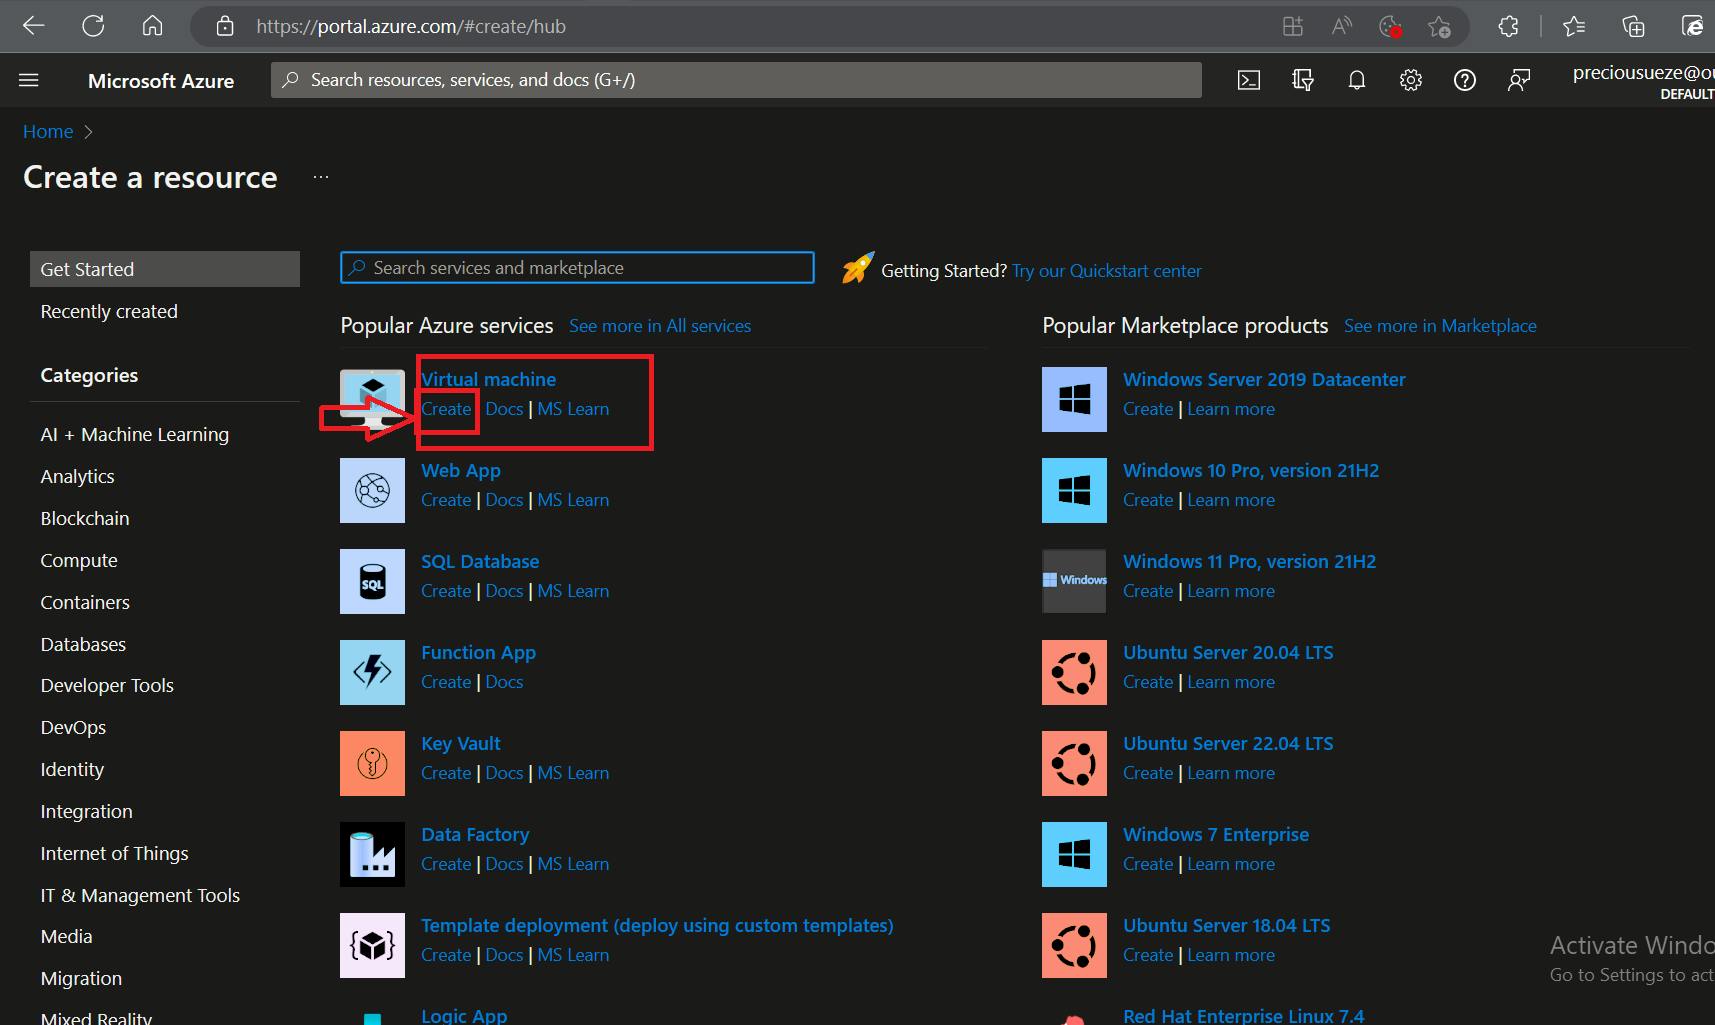
or proceed to choose the exact OS we want, which in this case is Windows 11 Pro.
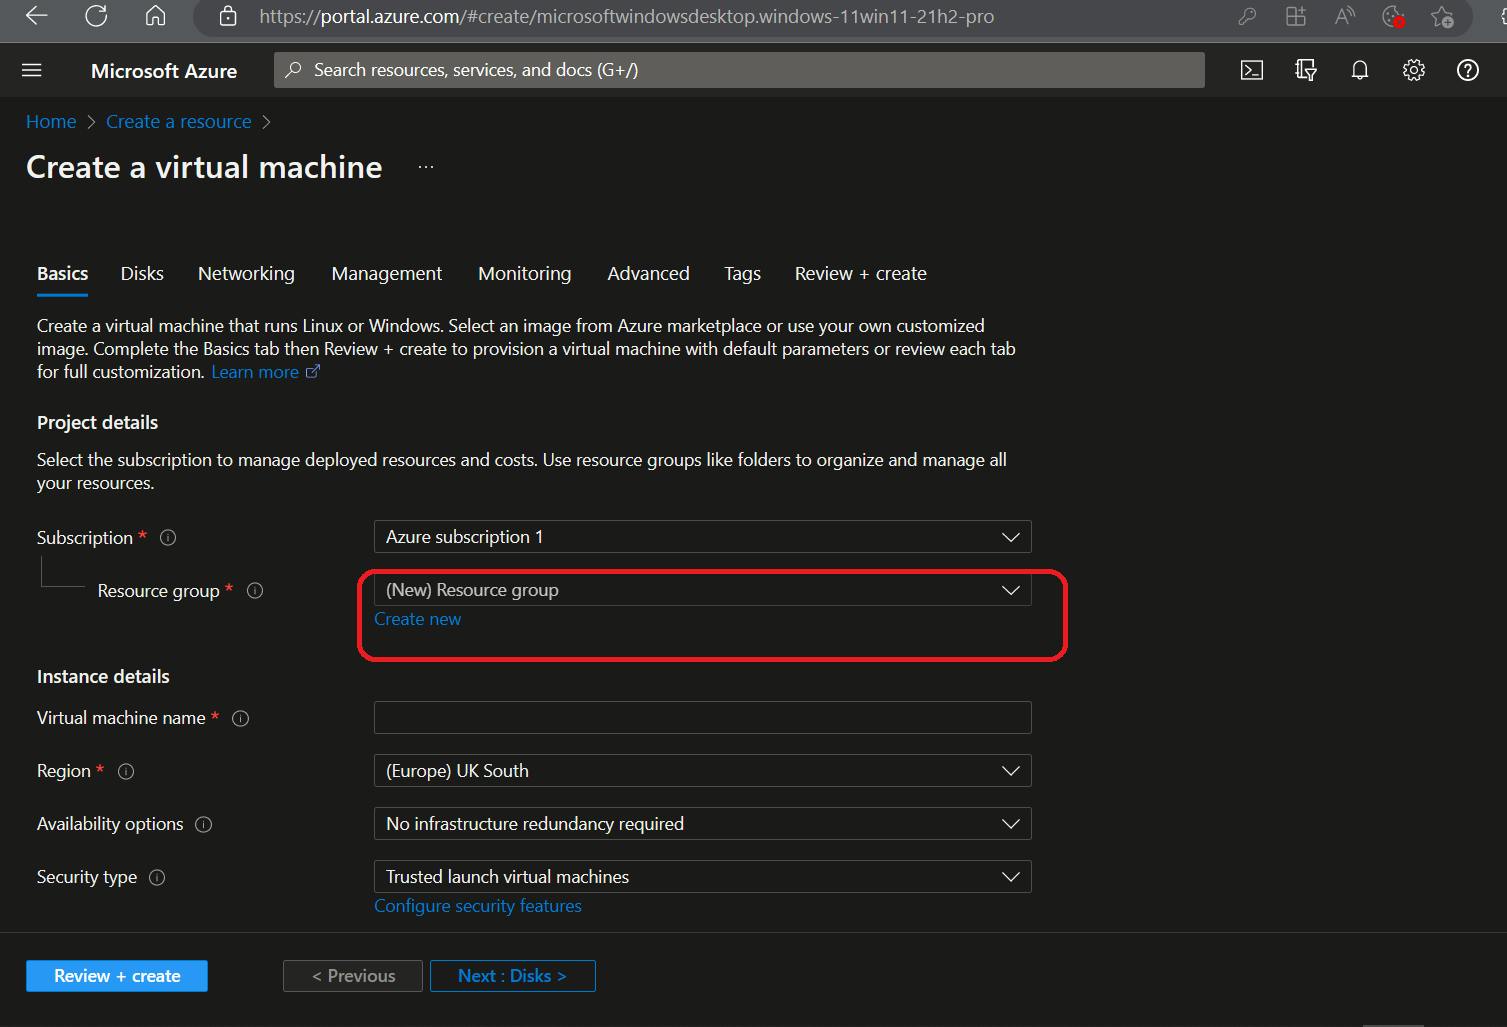
Then, based on your location, we set up the VM's specs, selecting the region that is ideal for you or your client from a list of available options. In my following post, I'll discuss regions, availability zones, and region pairs.
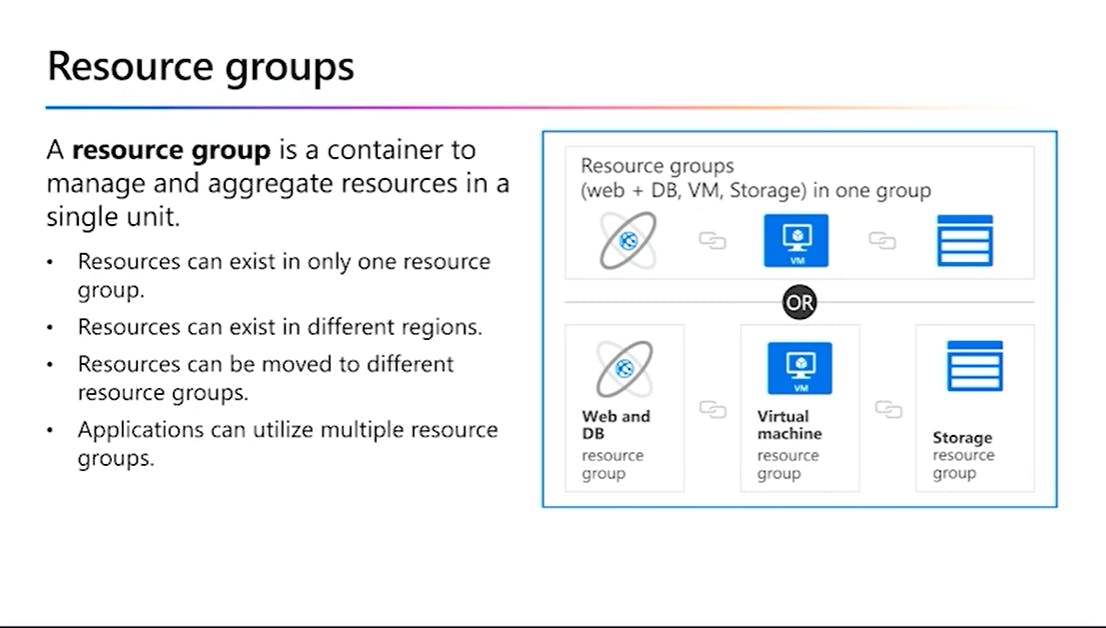
We then establish a resource group. In simple terms, a resource group is like a house, and the furniture in the house is represented by VM, IP, V-net, etc.
Proceed to security type, operating system (OS) AKA Image,
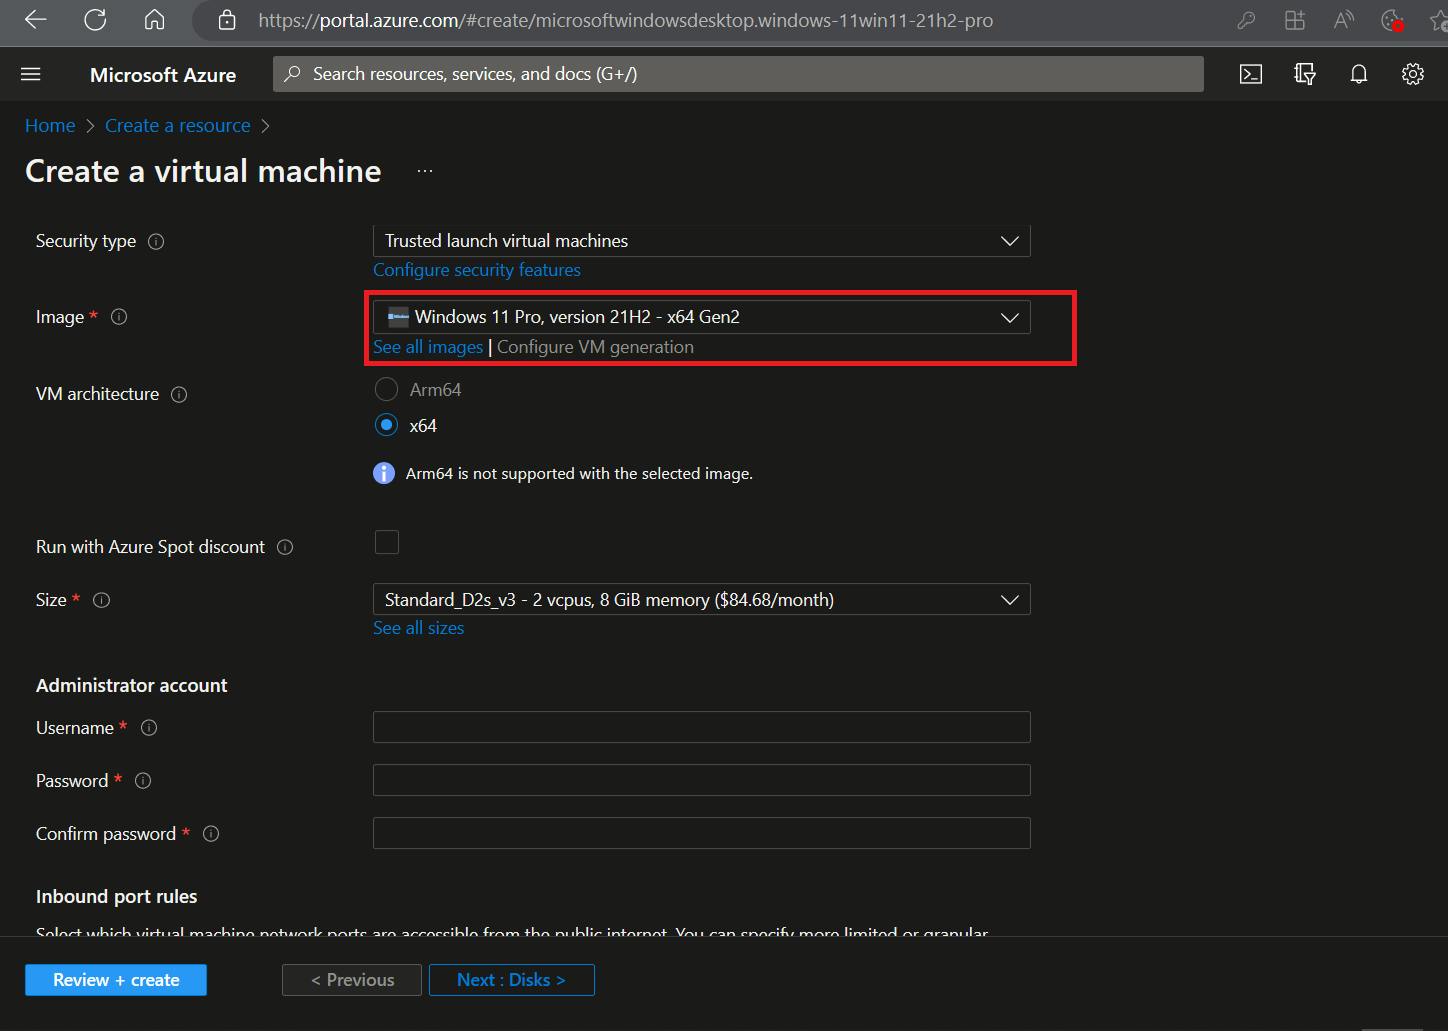
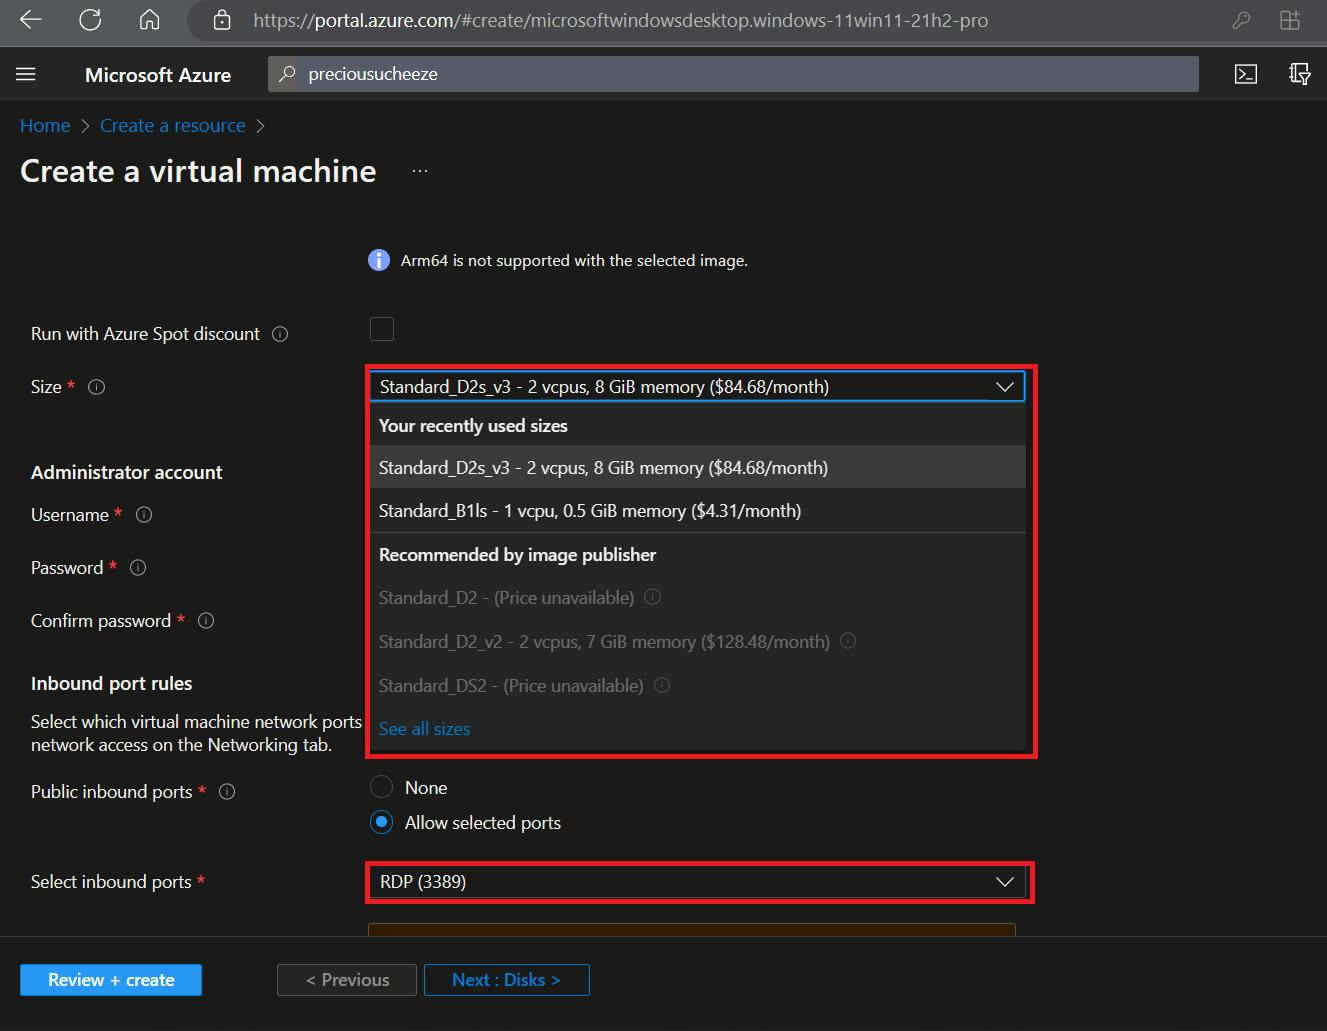
then select a special username and password. This will be the access code for our virtual machine. Next, we choose a disk size that is appropriate for the task at hand and an inbound port, in this case, Remote Desktop Protocol (RDP).
By selecting the next button below, we can go to the following page. Decide on the correct disk type. Standard HDDs, Standard SSDs, and Premium SSDs are available. Each type of disk commands a different price.

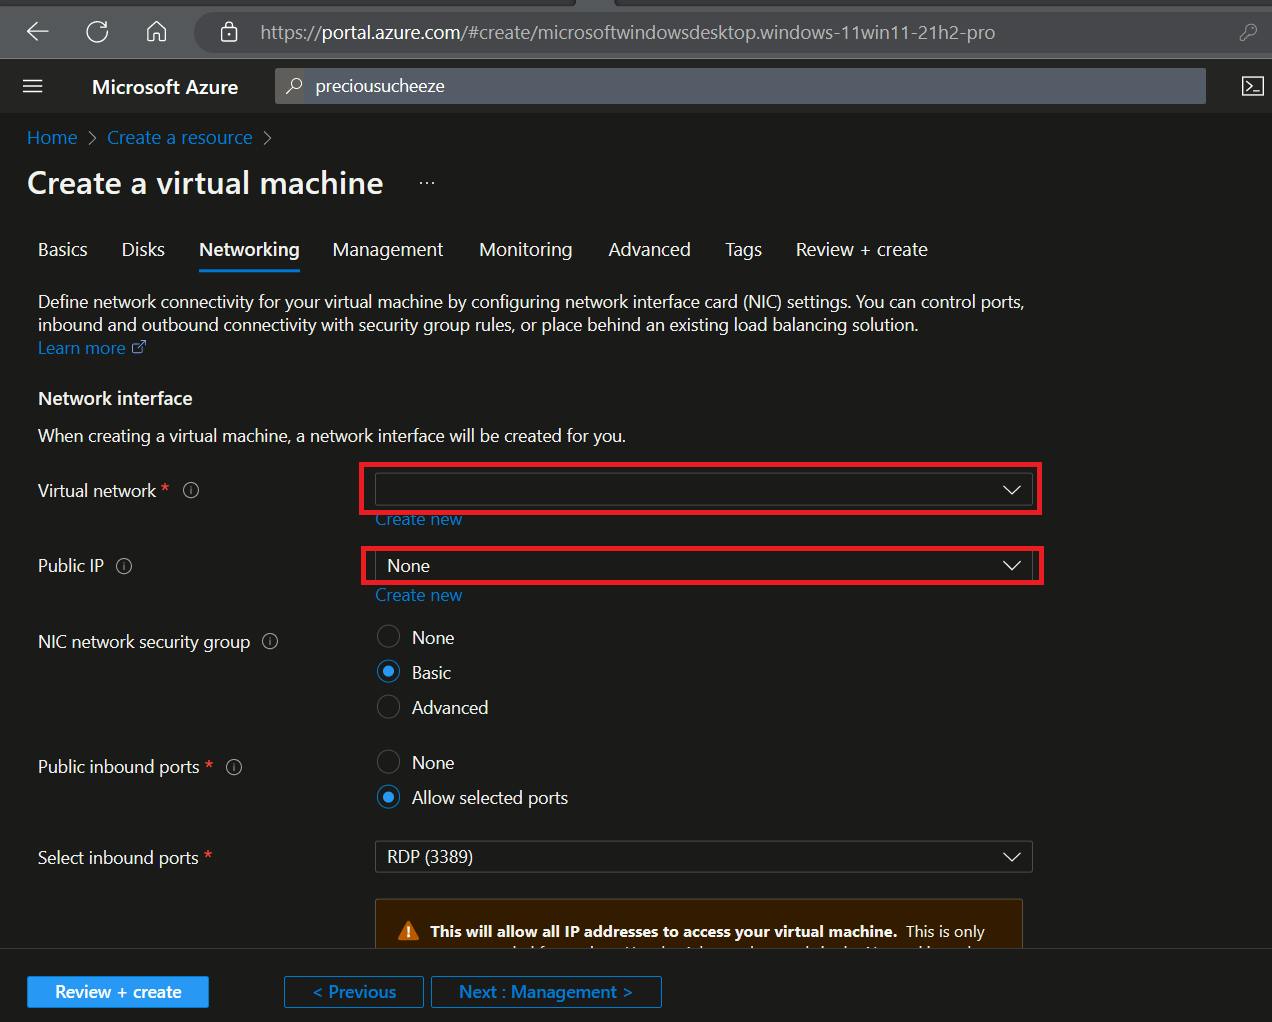
When a resource group and VM name are entered, a virtual network (v-net) and public IP are formed automatically; however, if you have the necessary abilities, you can also establish a v-net and public IP.
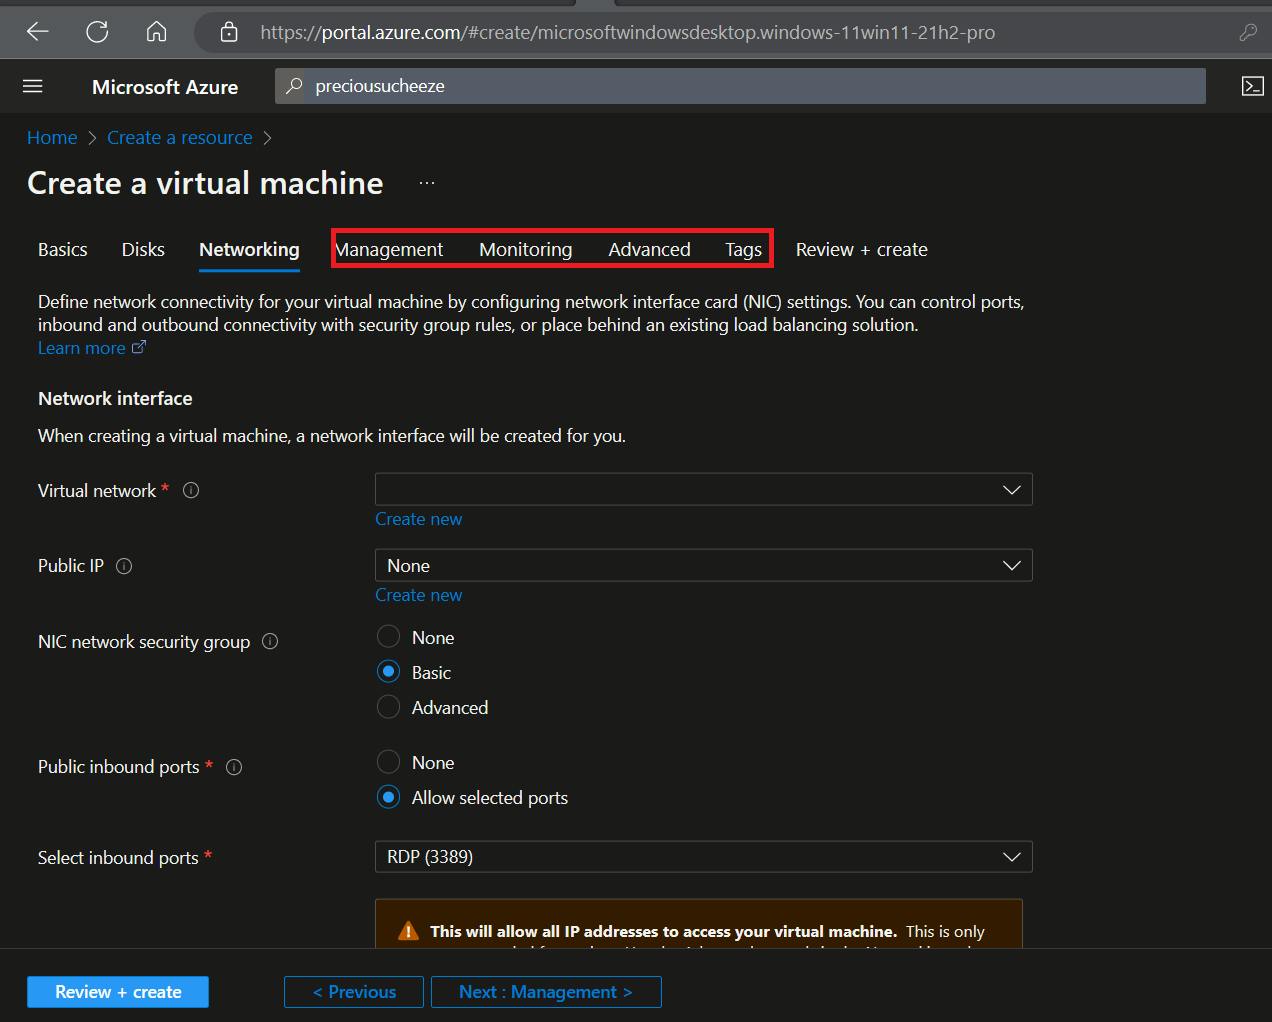
Because this is merely the foundation, we will leave the default settings for Management, Monitoring, Advanced, and Tags. That won't be necessary right away. We will go into more detail in a subsequent post.
Now, we will proceed to Review + Create to deploy our VM.

When that is done, we'll hit the connect button to connect to our VM.
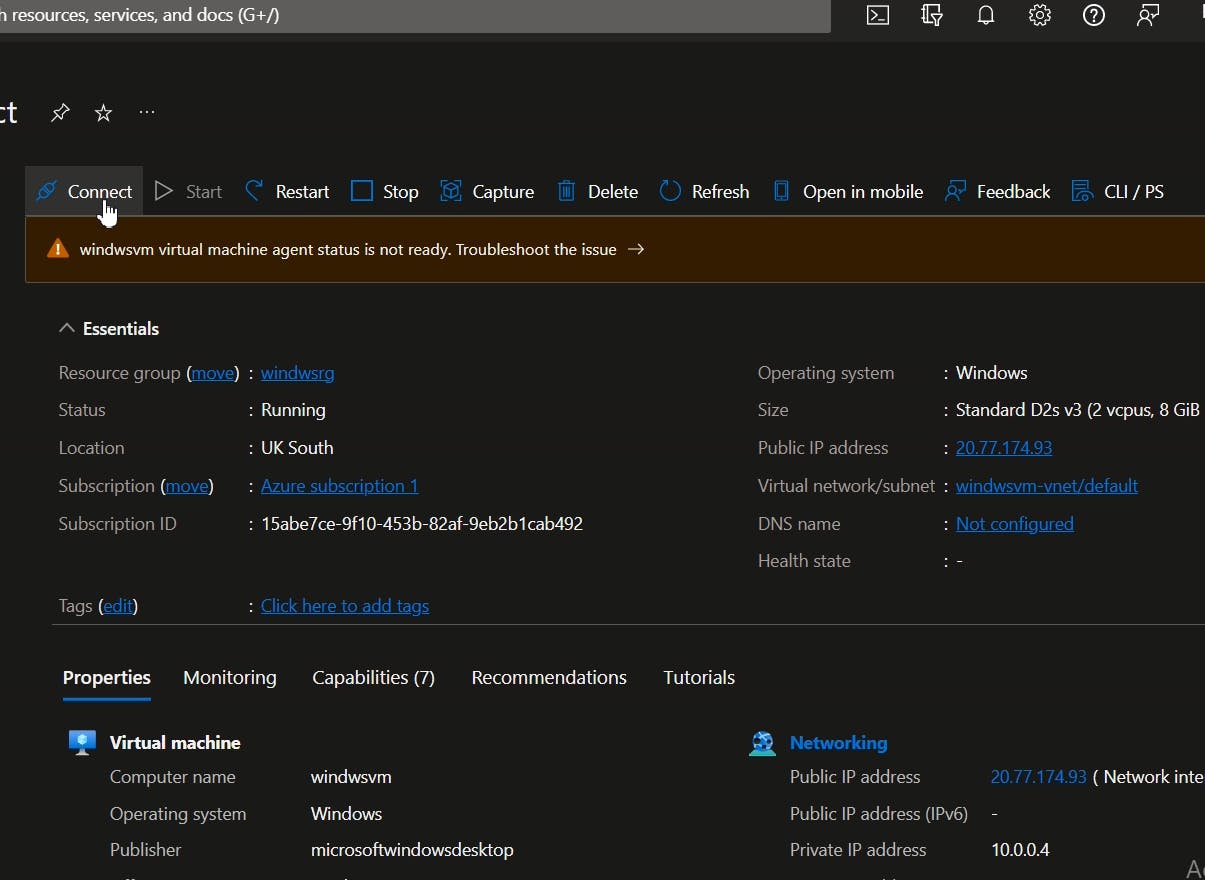
We enter the username and password you selected when building the VM as our credentials to access the VM whether we connect to the VM using our public IP address or through the downloaded RDP file.

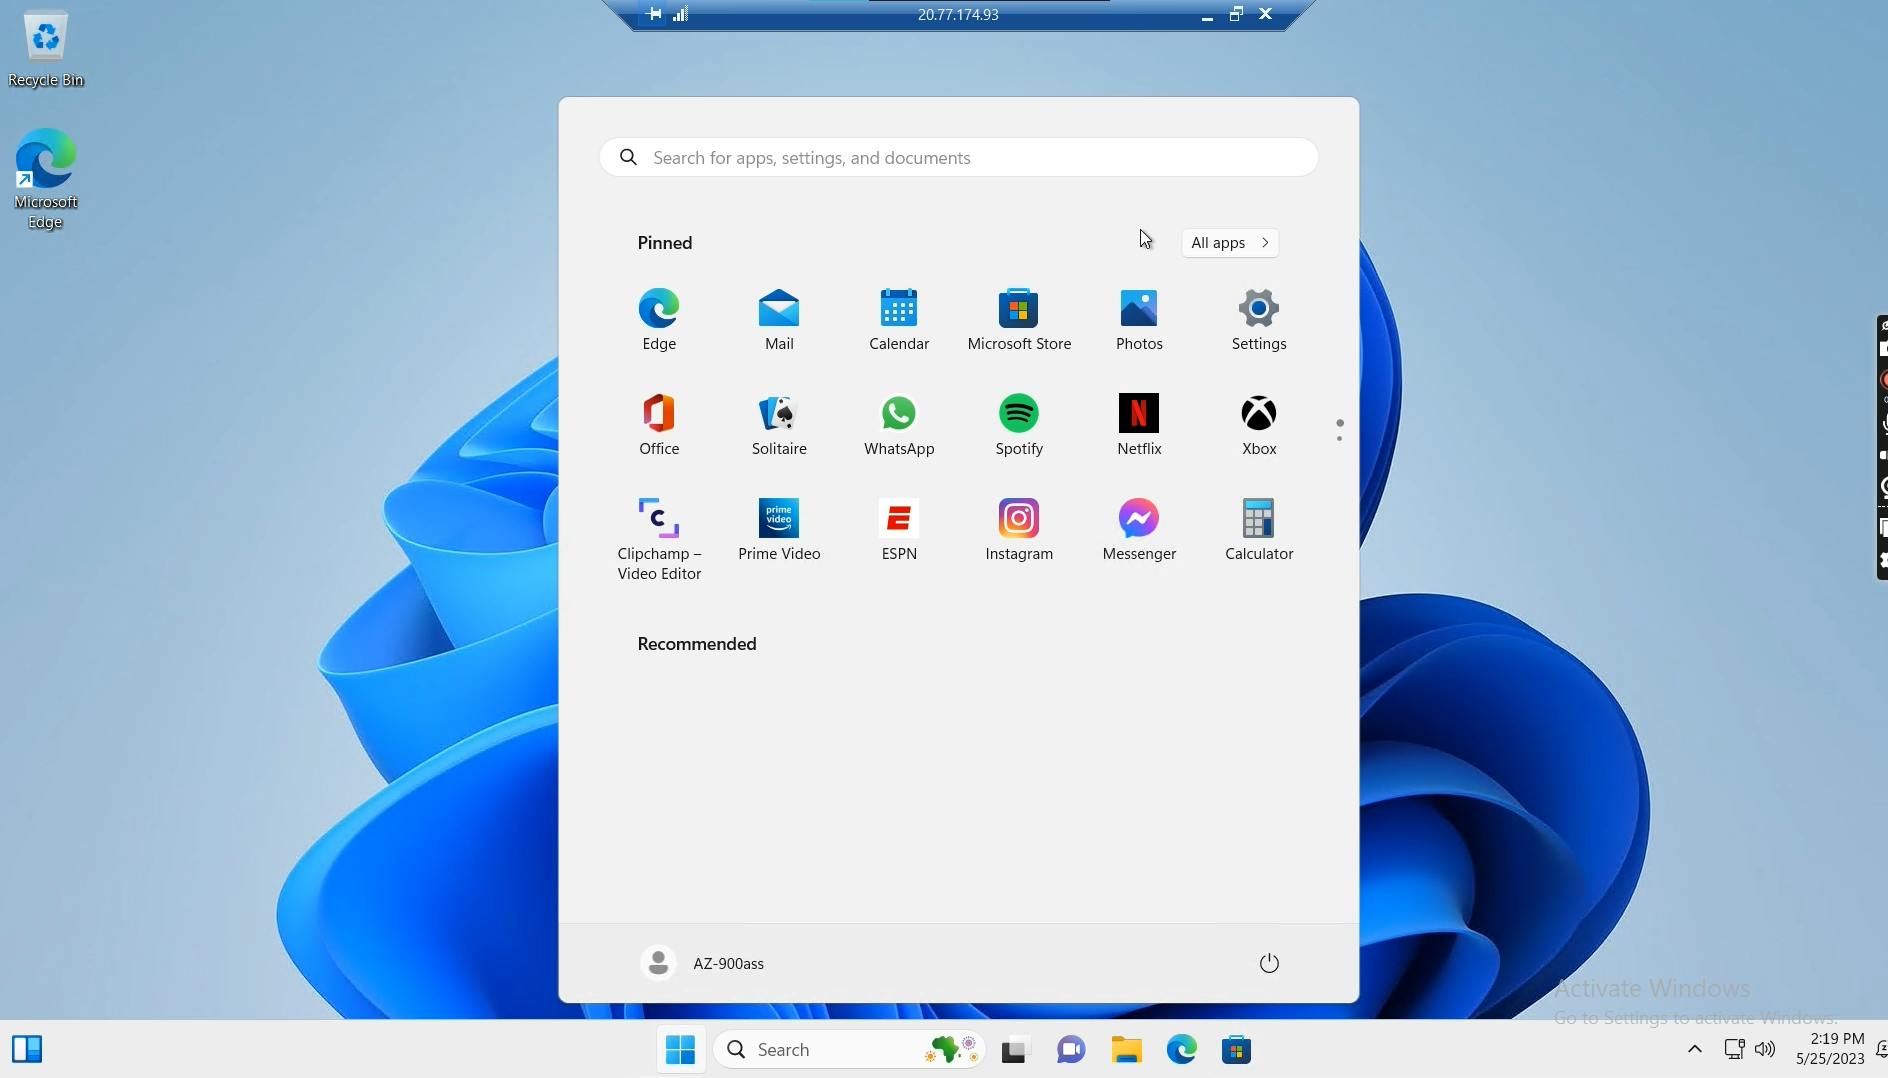
Our VM is now ready, presto! directly from the oven. Next, we'll build an Ubuntu virtual machine. Get Excited!